

How I created an office library in a tiny room using Ikea Billy bookcases
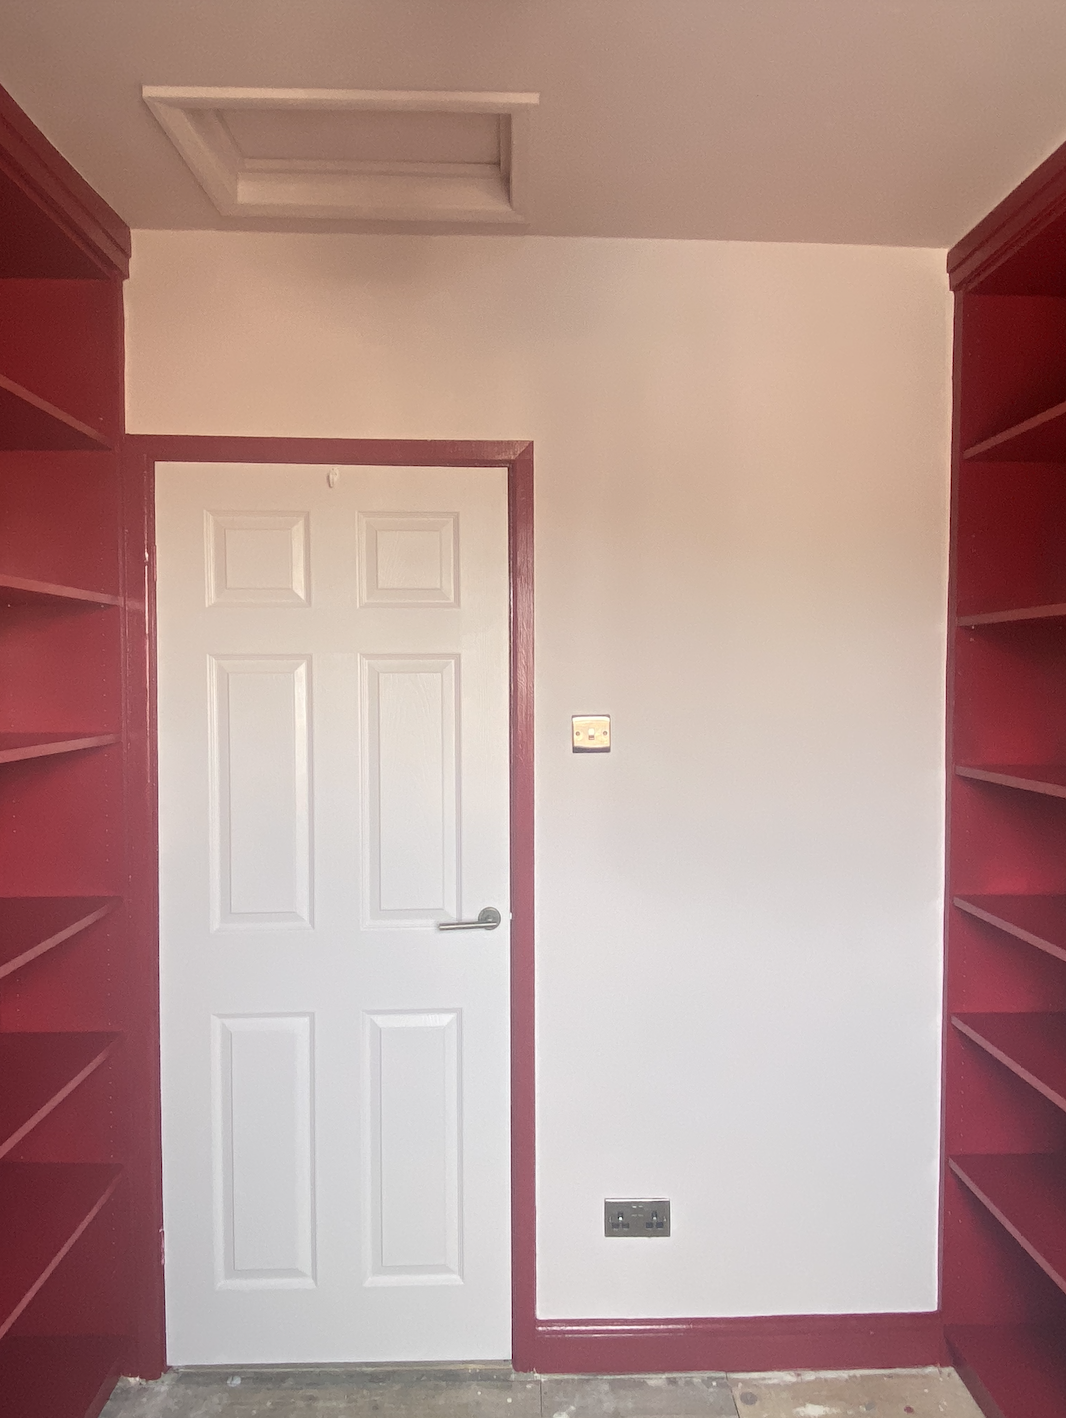
If you know me, you’ll know I have a penchant for gloss paint! I’ve wanted to create a red study/library/creative space/very bold room for some time, so having the opportunity to do that in my back bedroom has been a real trip! Although the box bedroom is exactly that (just over 2 meters squared pre- bookcases), I knew that designed well, the wall to wall glossy bookcases would really work in here, regardless of it’s size.
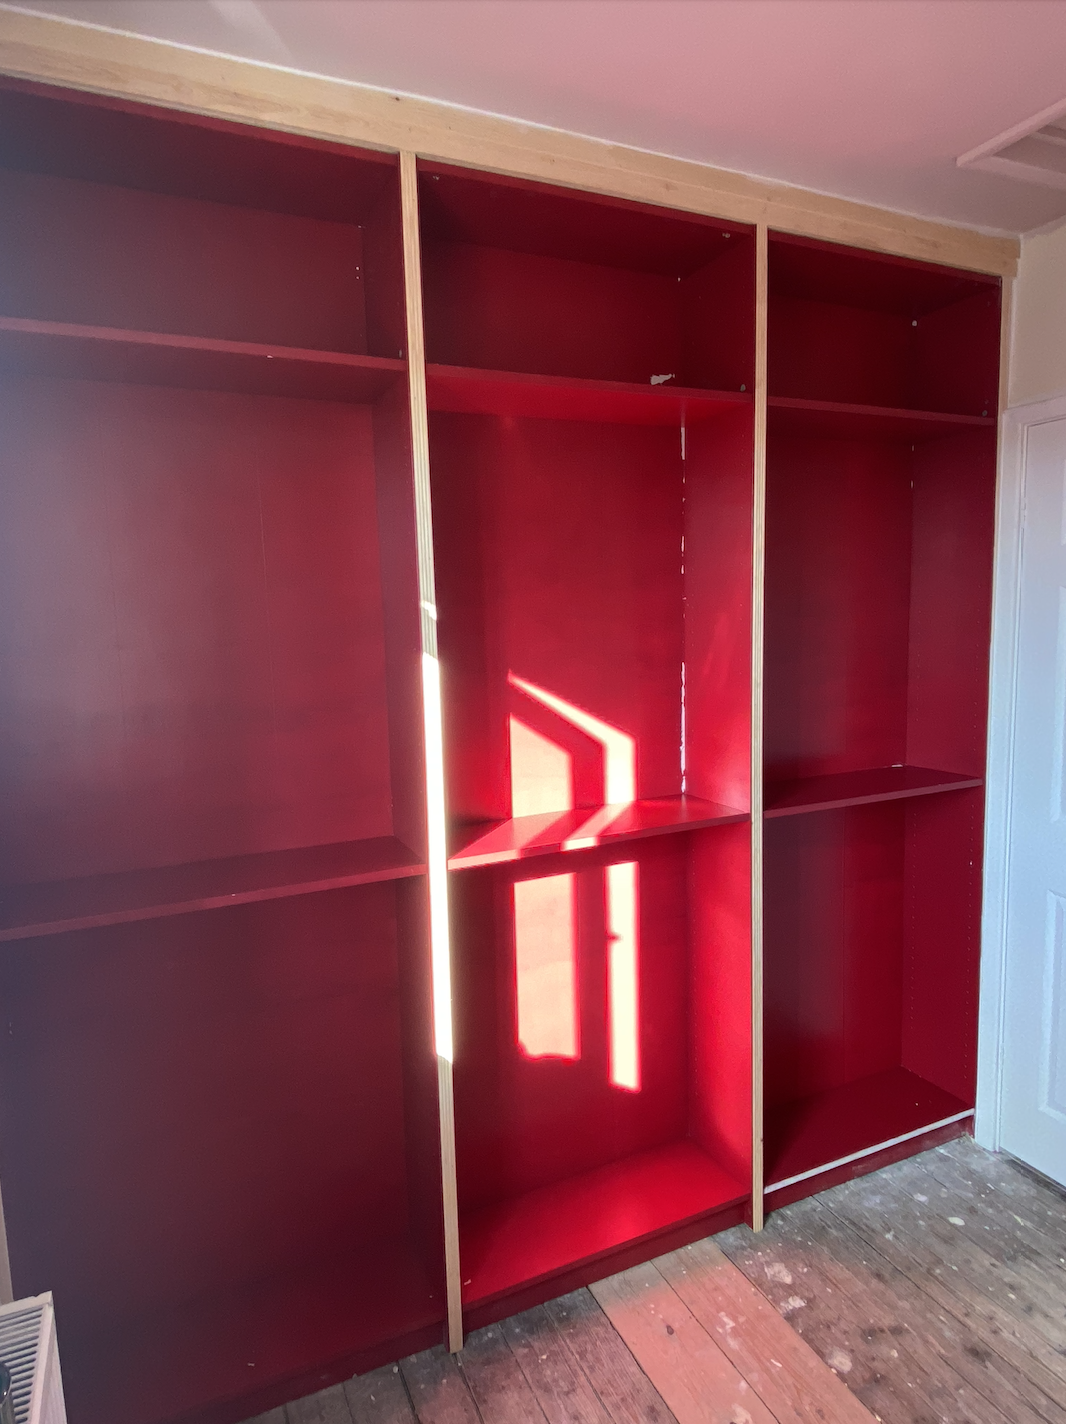
Bespoke joinery is not in my budget at the moment, so I needed a self-assembly option that I could hack, to achieve the quality feel I was looking for. After lot of research into flatpack bookcases, the ones that fit the size of the room best was the Ikea Billy, 6 of them! 3 lined up each side of the window, for a symmetrical library.

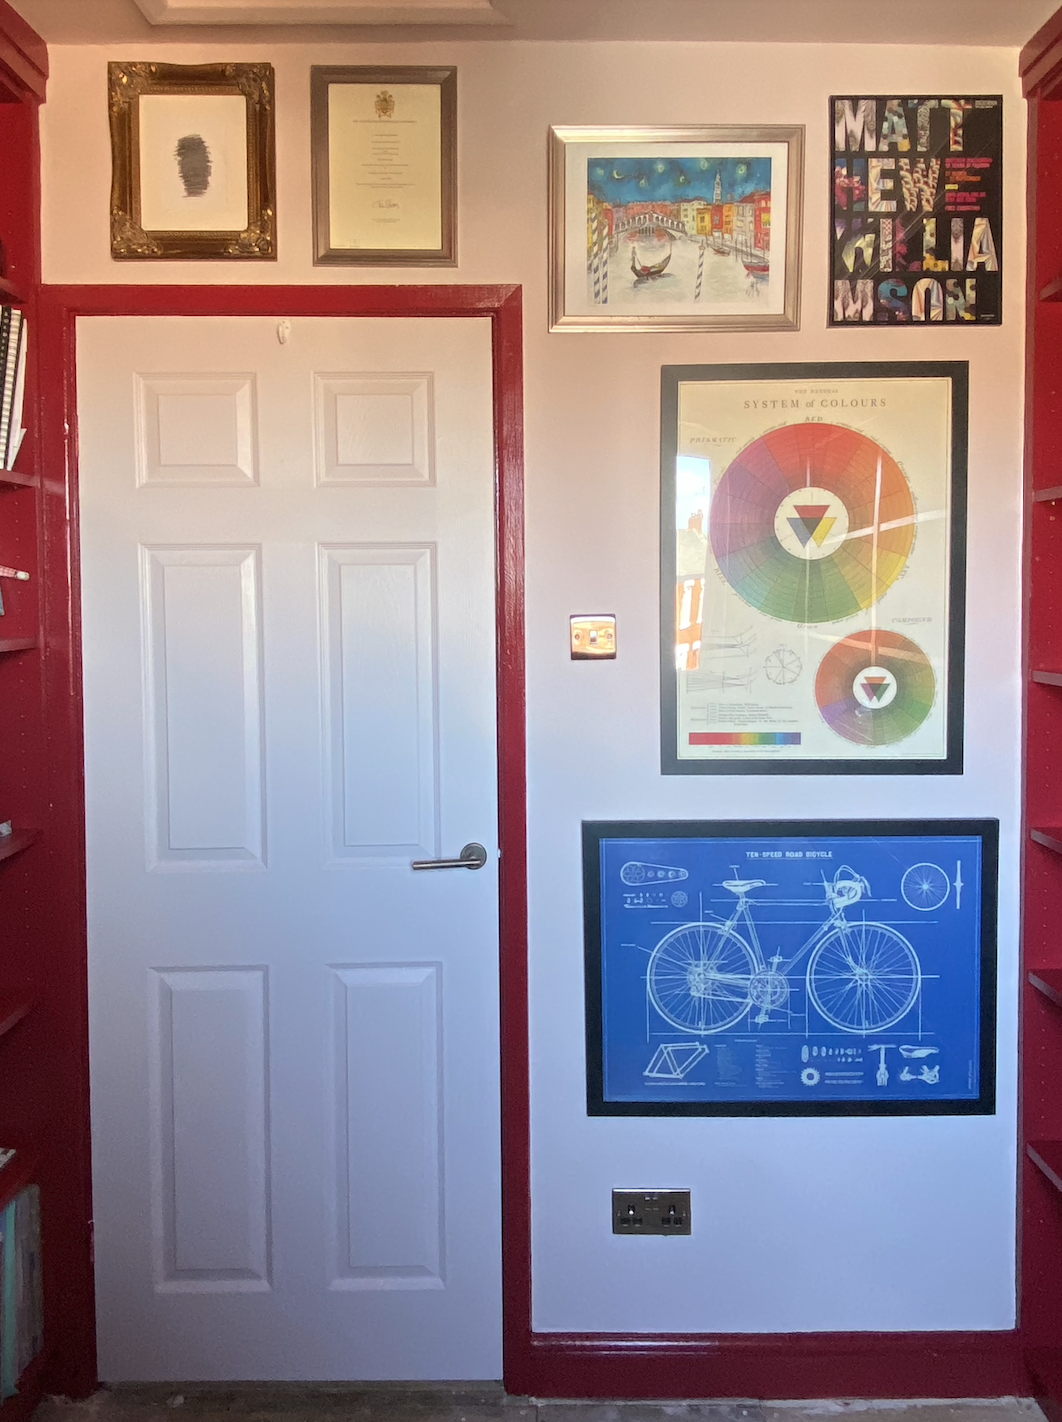
The nearly finished space
What I used:
6 x Billy bookcase 80x28x237, white, at £60 each (now £75)
6 x Height extension unit, white, 80x28x35 cm @ £25 each
Leyland Trade Primer and Undercoat
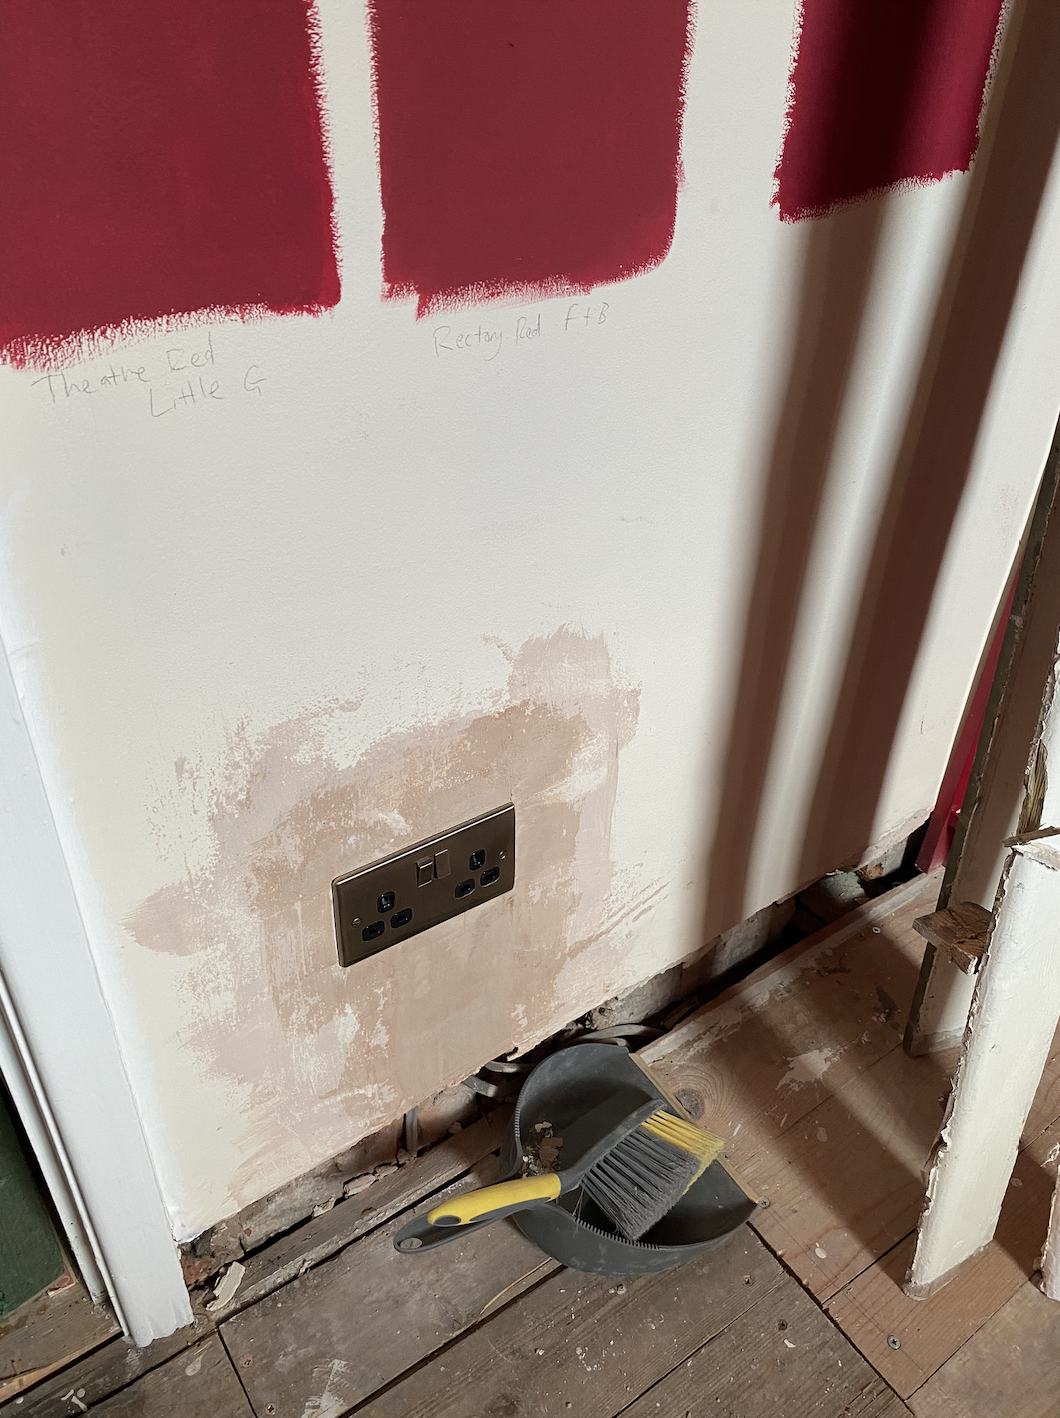
5L of Little Greene Intelligent Gloss in ‘Theatre Red’
4” gloss rollers
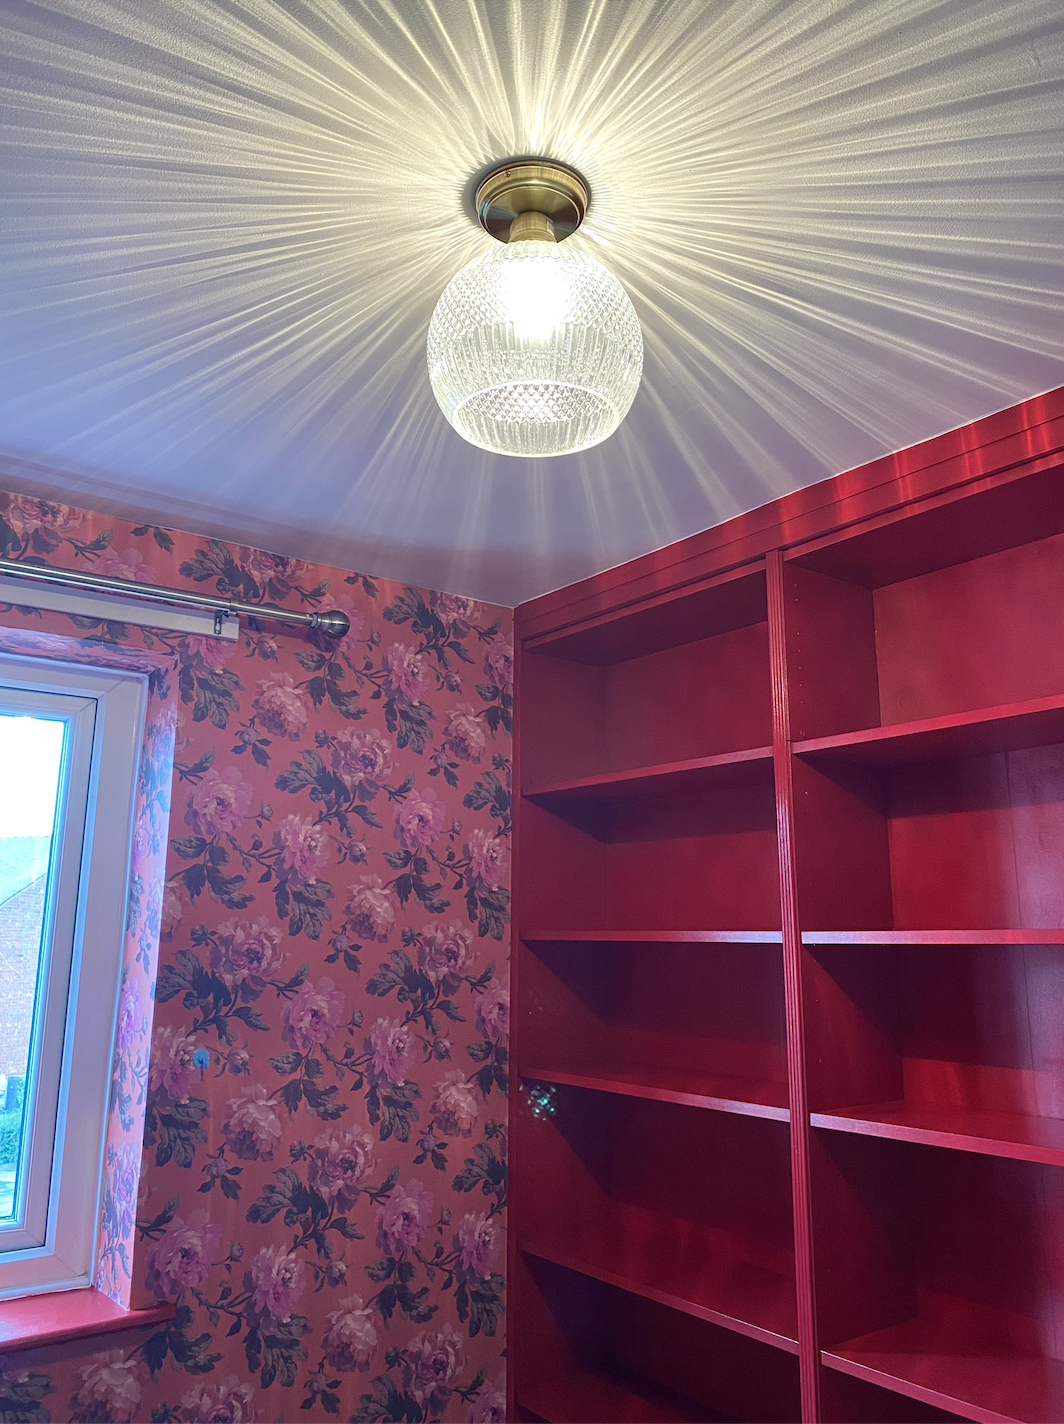
Dulux Heritage Potters Pink emulsion for the ceiling
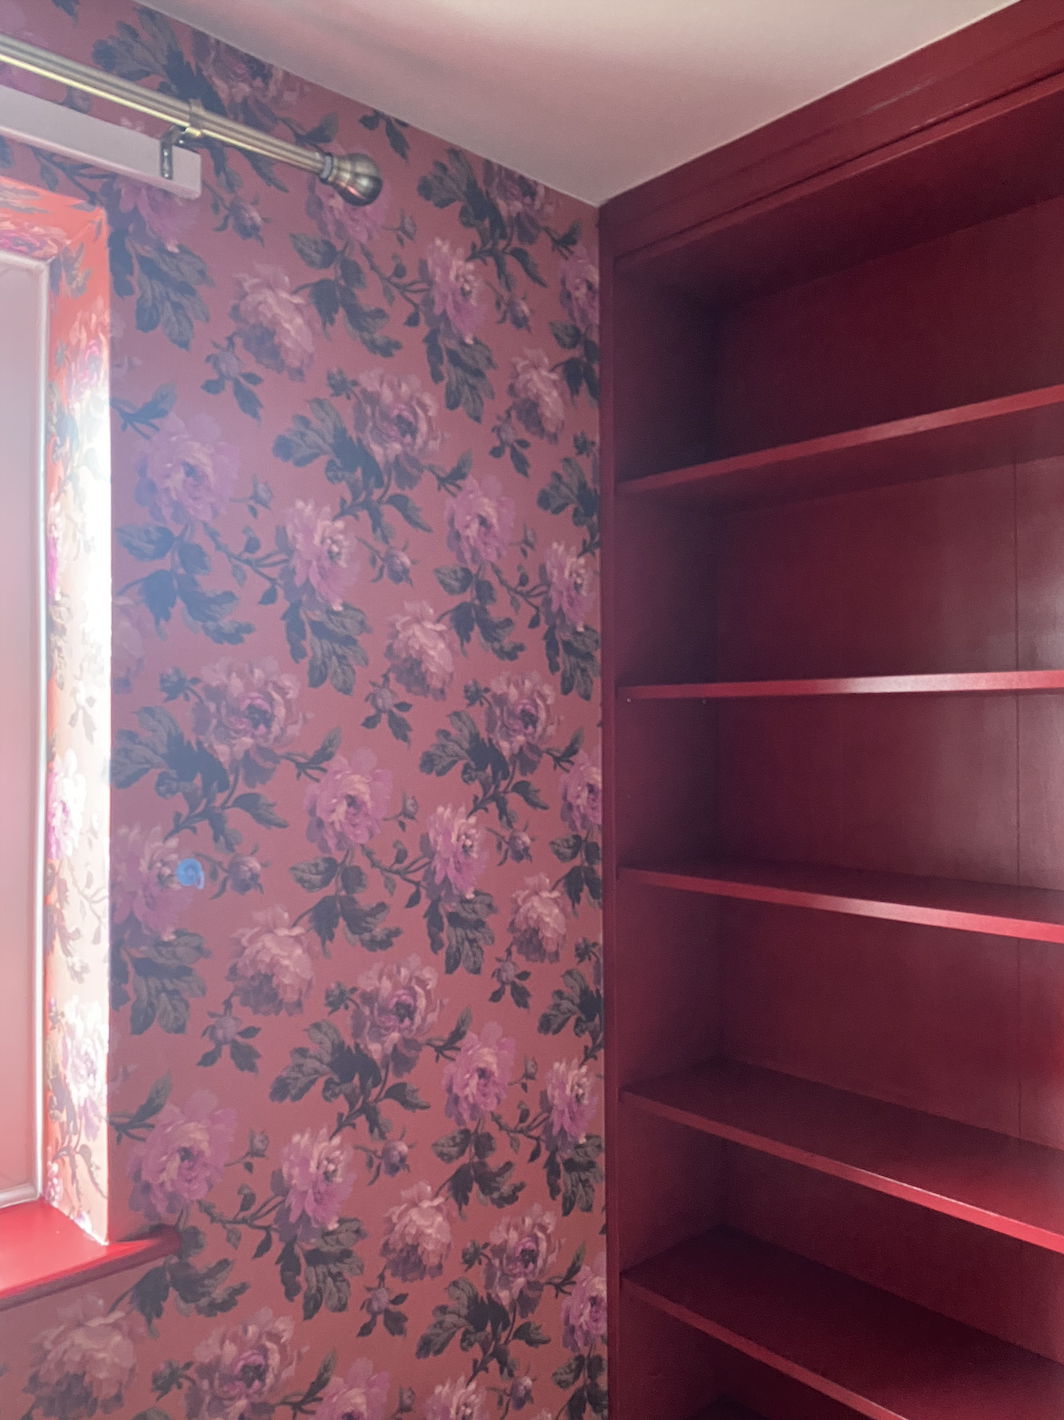
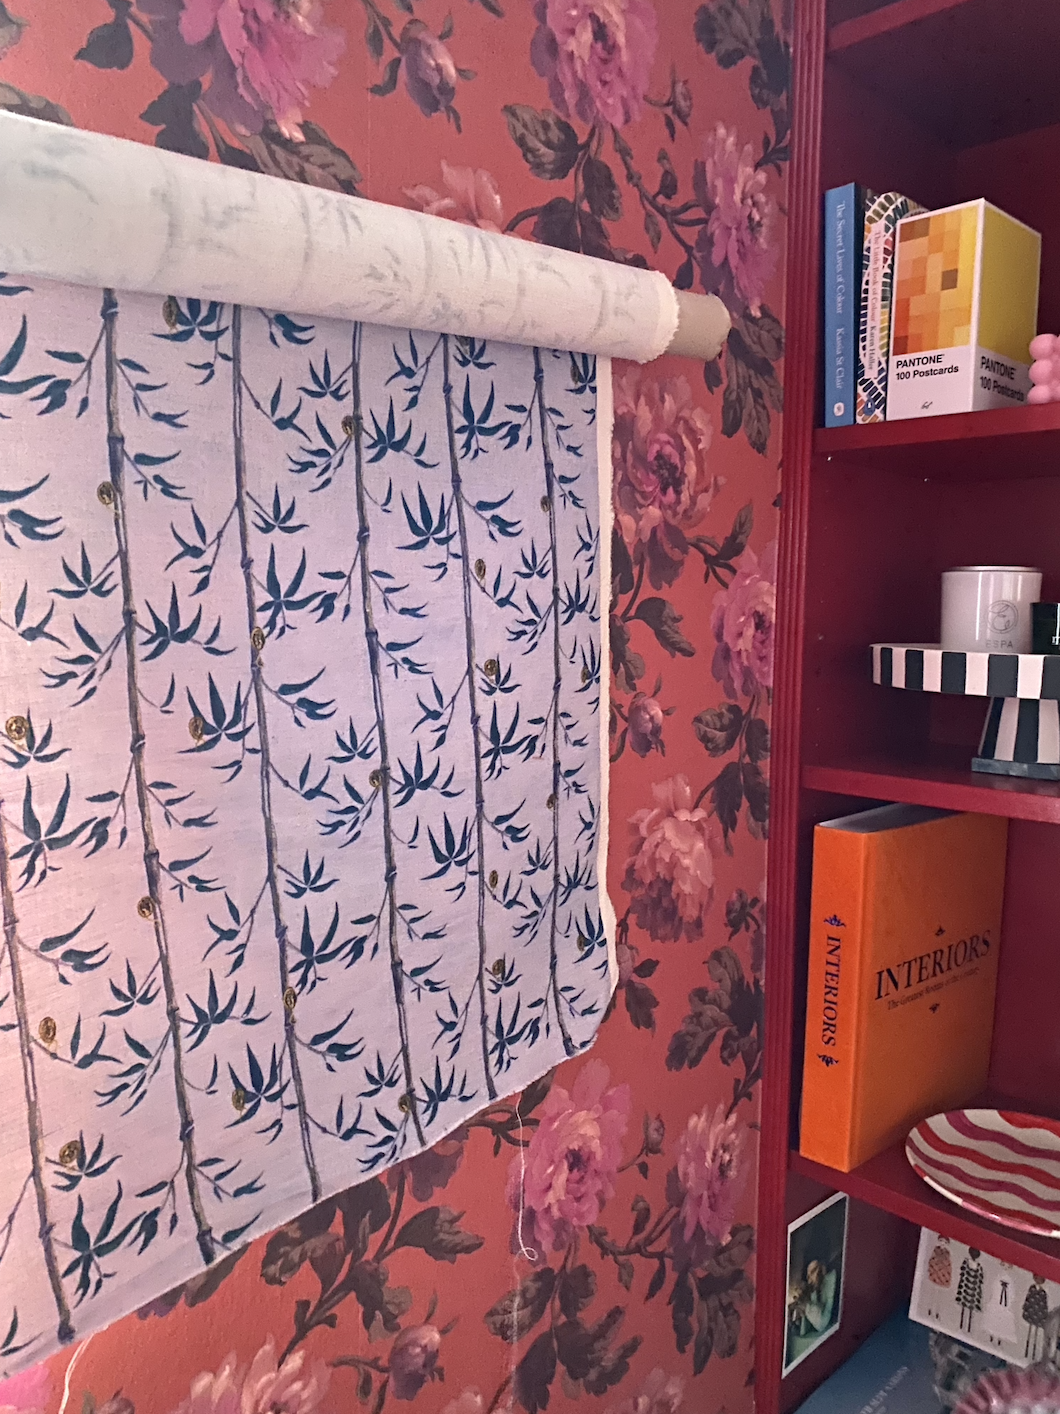
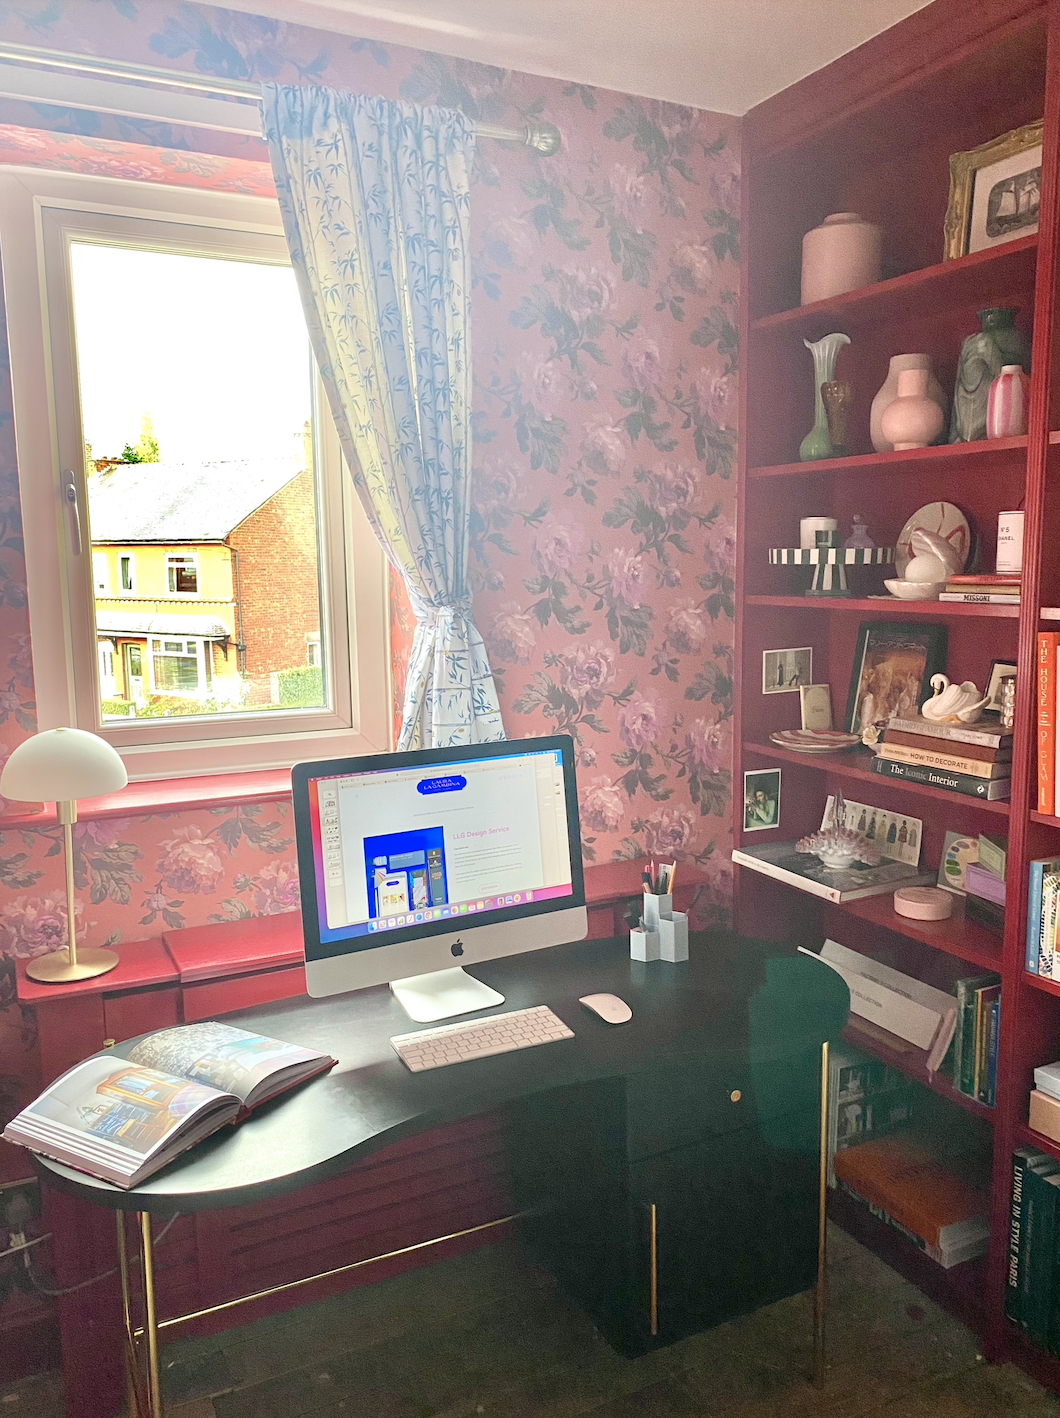
House of Hackney Peoneden wallpaper in ‘Chinese Red’
Poodle & Blonde Money Tree fabric in ‘Tobacco Sky’
The process:
Disclosure: The process was long!
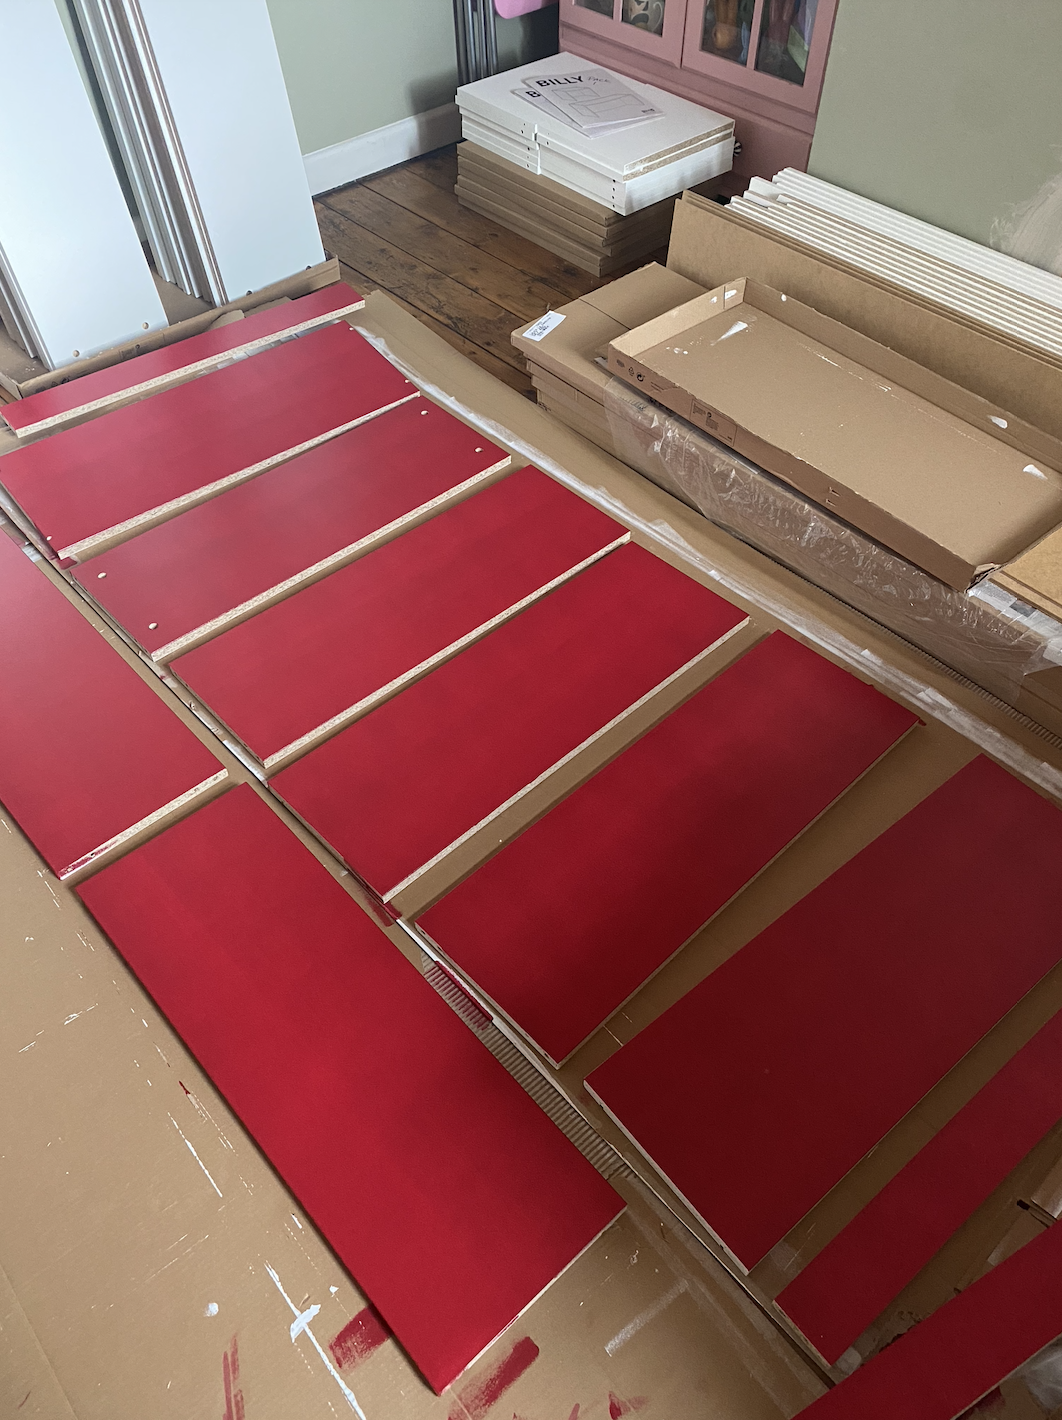
The 6 Billy bookcases and height extenders totalled over 100 panels, which all needed priming and then glossing.
The needed priming because they have that Ikea shiny finish that paint doesn’t stick to, and pretty much every side needed it! The only parts that didn’t require priming were the side panels that butt up to each other (which saved me a grand total of 4 sides!), plus the top side of the top shelf, as it pointed up to the ceiling and the back of the 6 back panels.
I treated every panel individually with 1 coat of primer, and then 4 coats of of gloss. I could’ve got away with 3 but I wanted it as much as a factory finish as I could get. I used a 4” gloss roller for both the primer and the gloss, and over the course of a few panels, I found way to roll to reduce lines and get the most even coverage as possible.


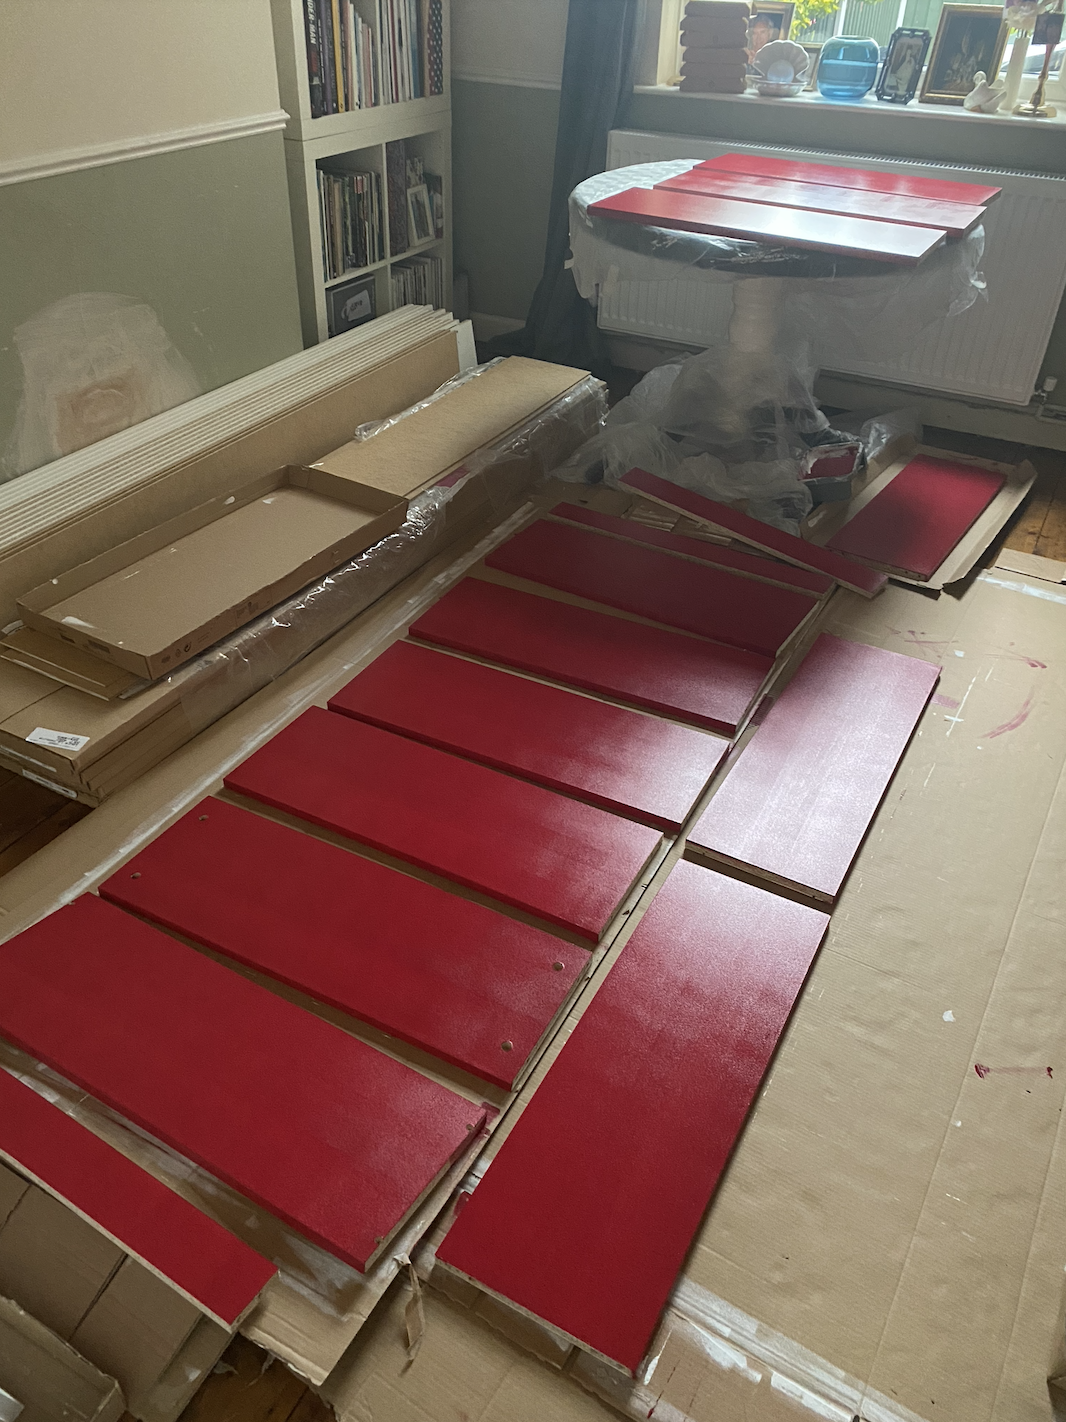
The painting of the panels took me 6 weeks in total! This was based on the amount of space I had in my dining room to actually place the panels (the most clutter free room of the house) and the drying time involved… each coat of gloss took 4 hours to dry! Plus I was doing this project in evenings and weekends around full time work.
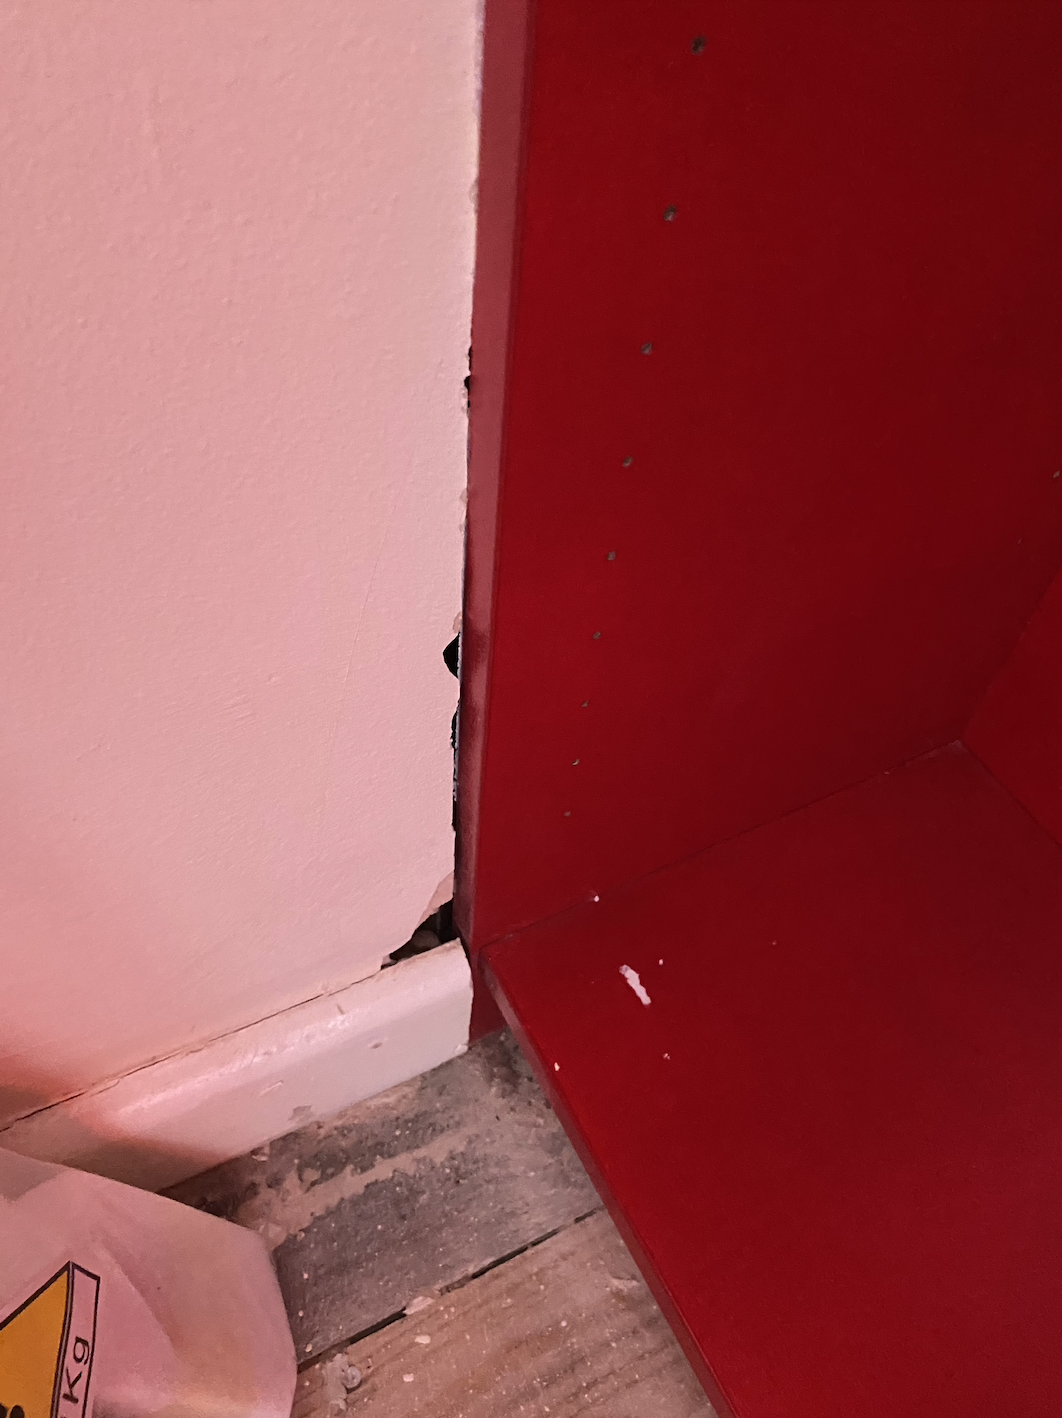
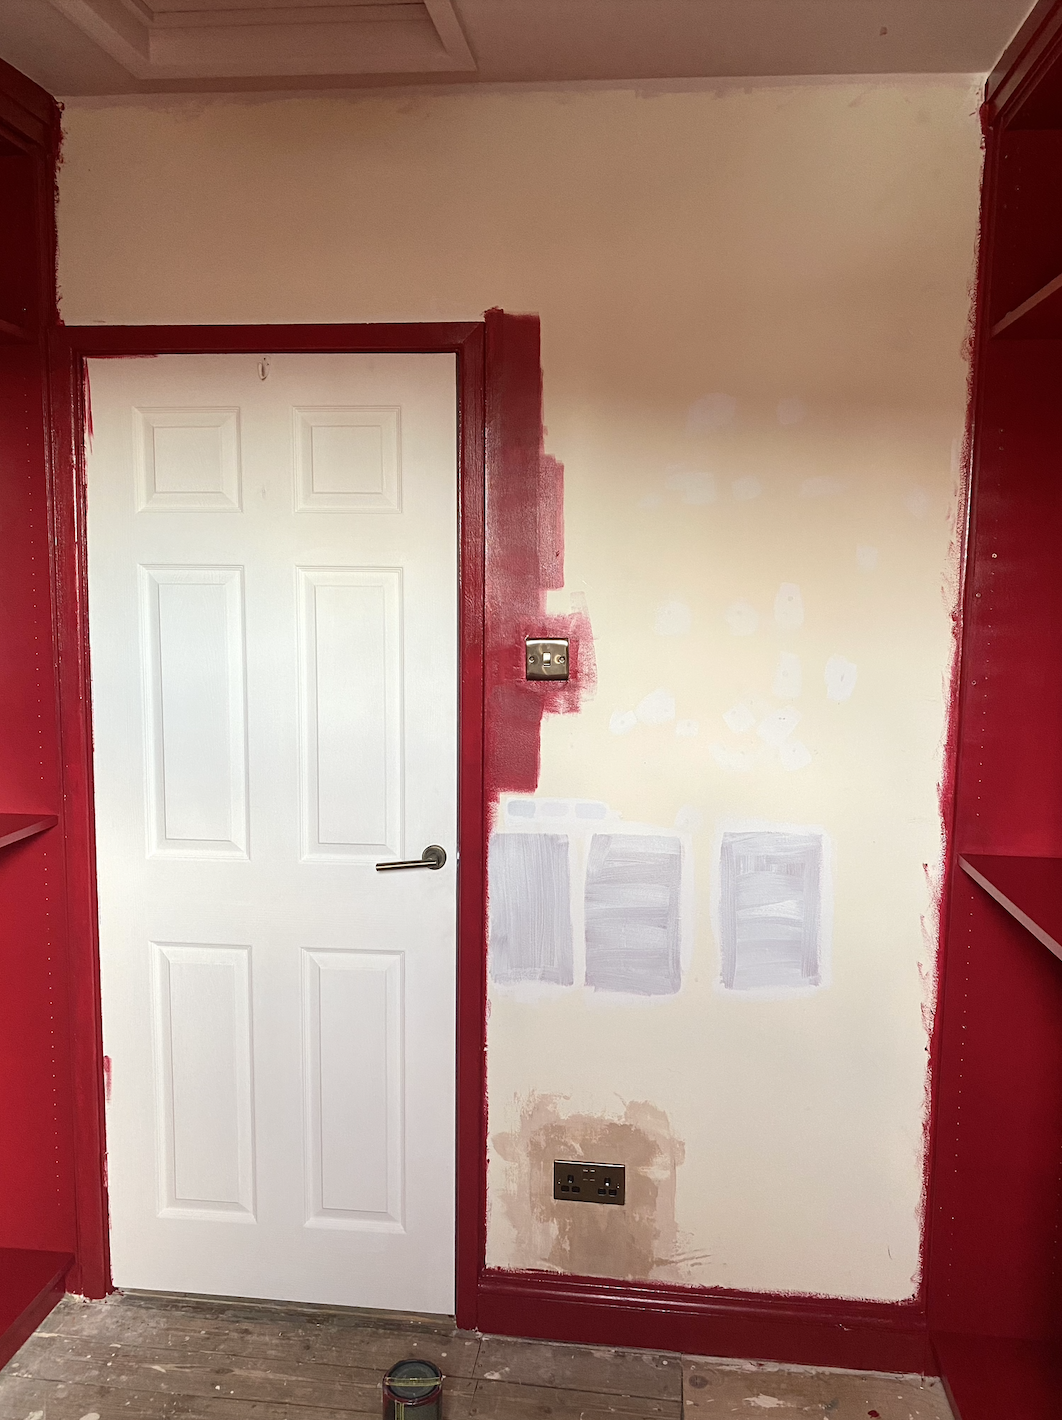
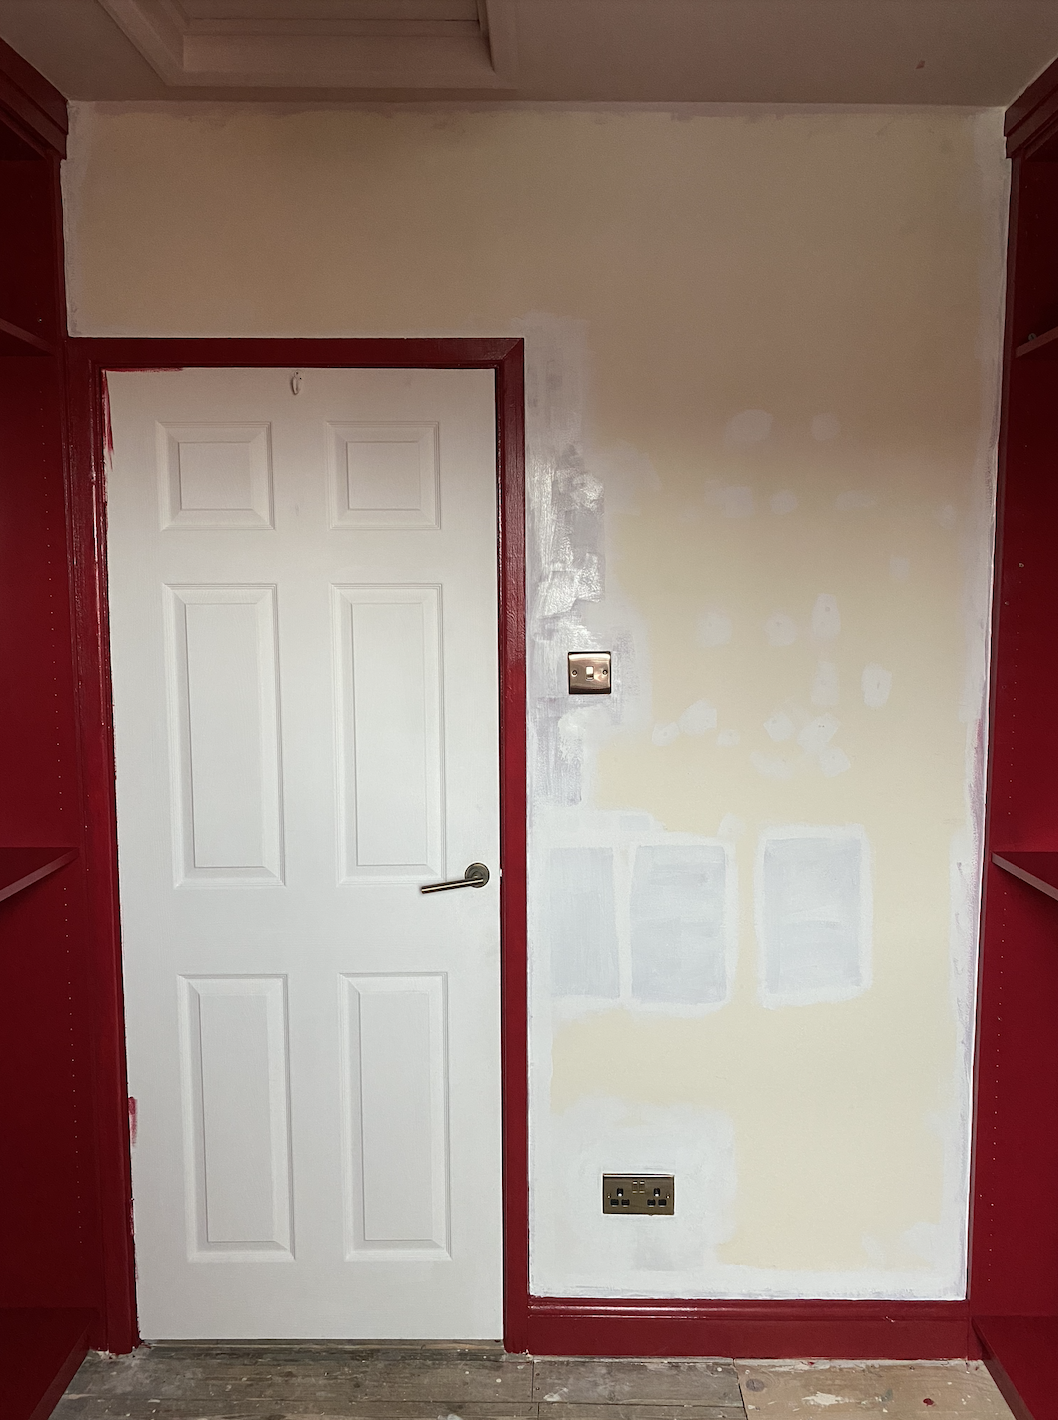
Once all the panels were painted, that’s when assembly began in the office space. At this point I called in the calvary (my handyman!) to help with this due to time and also, knowing that some holes would need to be knocked out of the walls to make them fit! I didn’t feel entirely comfortable or capable of doing this without making a big mess or causing potential problems, and knowing when to ask for help is key! But before this happened, I painted the ceiling, the door wall. and the door in Dulux Heritage Potters Pink to save getting any splashes on the bookcases later.
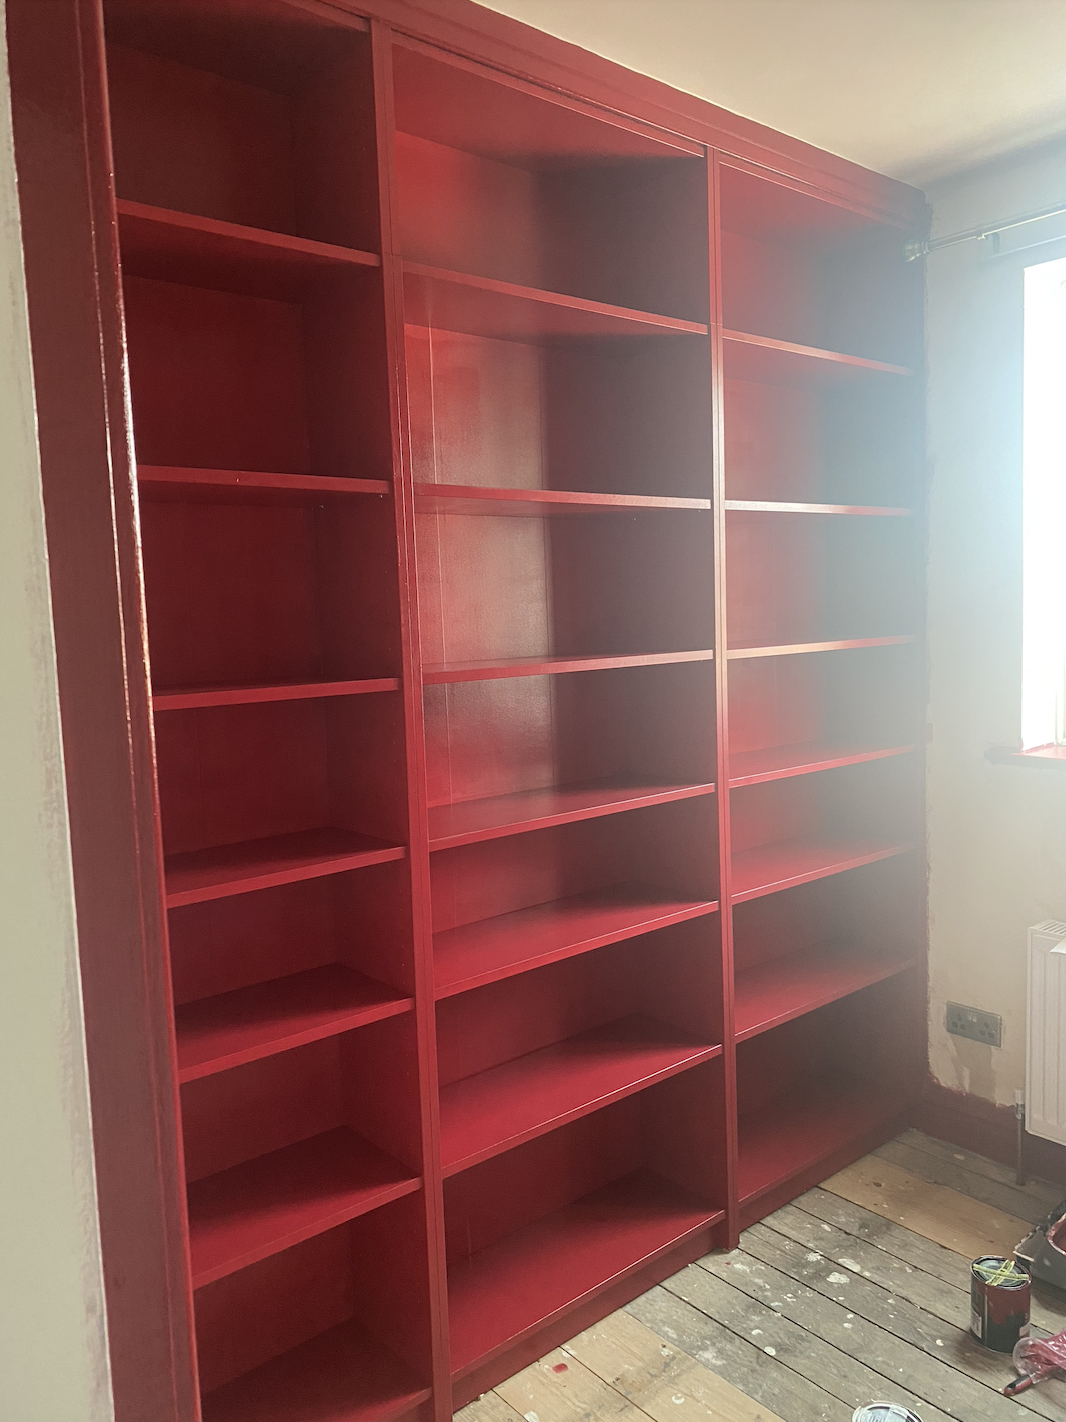
Once all 6 Billy’s and height extenders were in situ and screwed to the wall, new skirting and decorative trim was added to gain that ‘built-in bespoke’ feel. This was primed and then, you guessed it, glossed! With no less than 4 coats to match the finish and colour intensity of the bookcases.
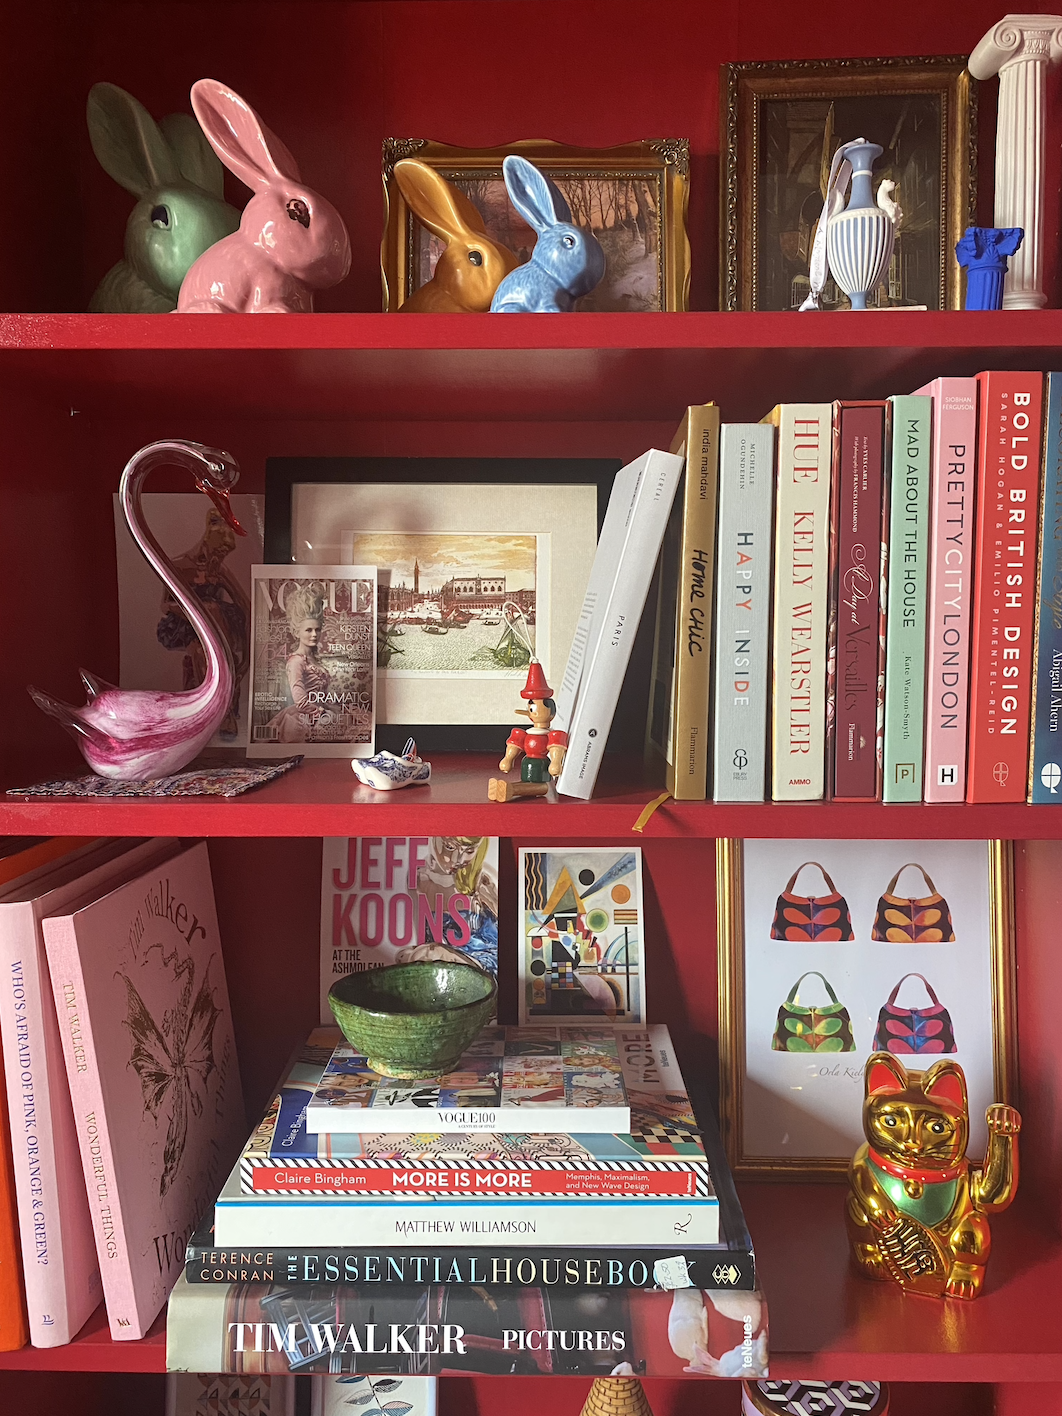
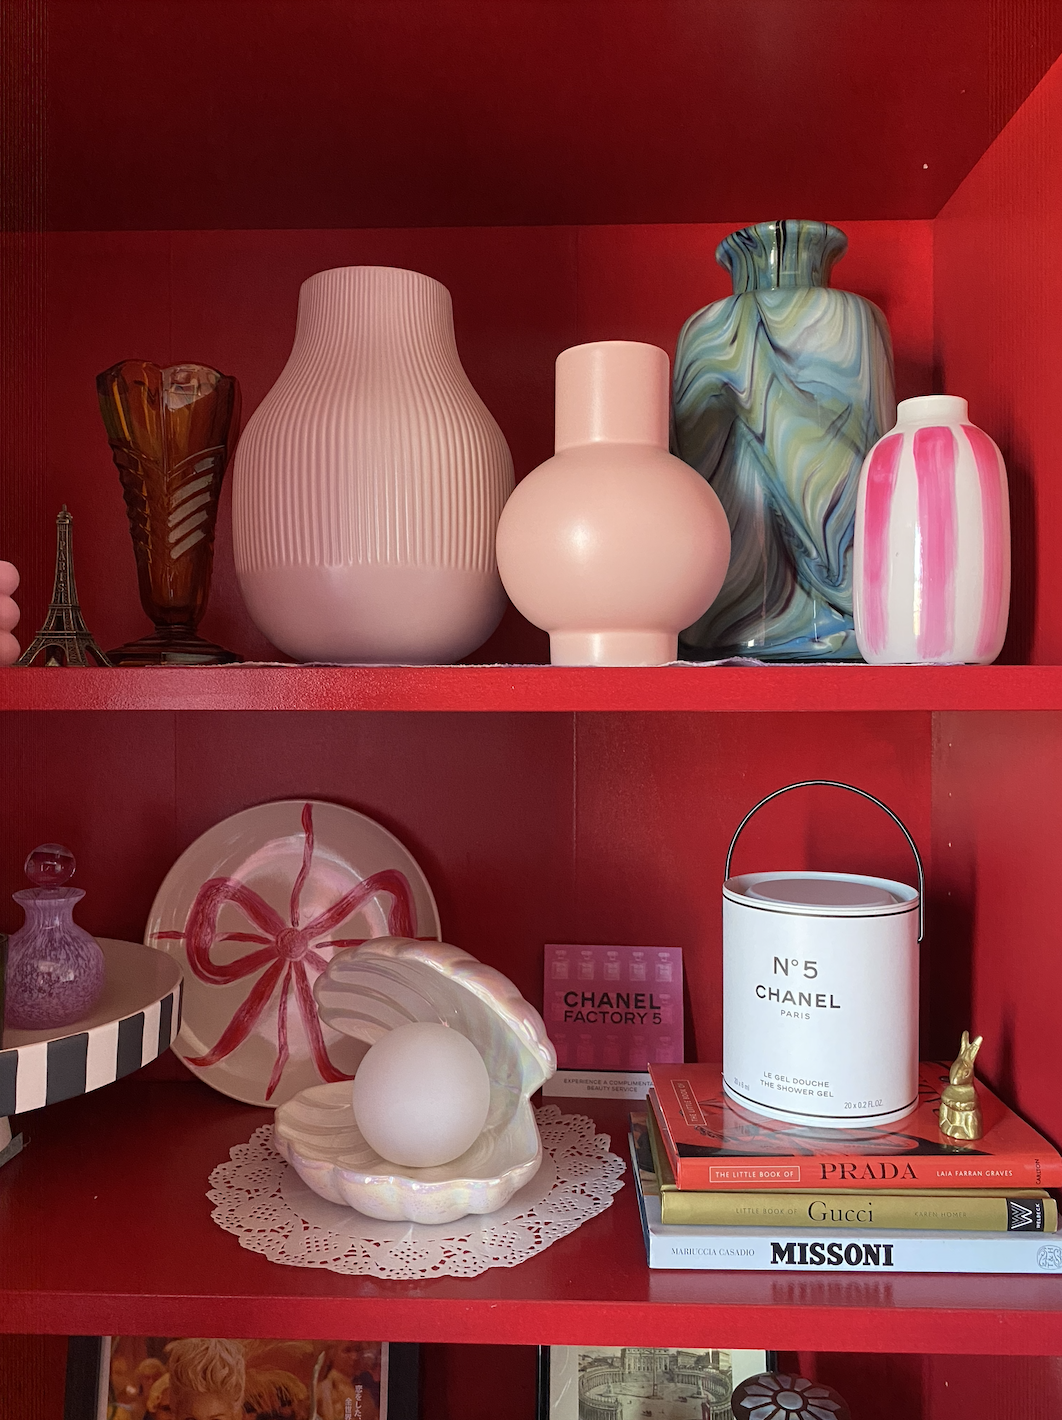
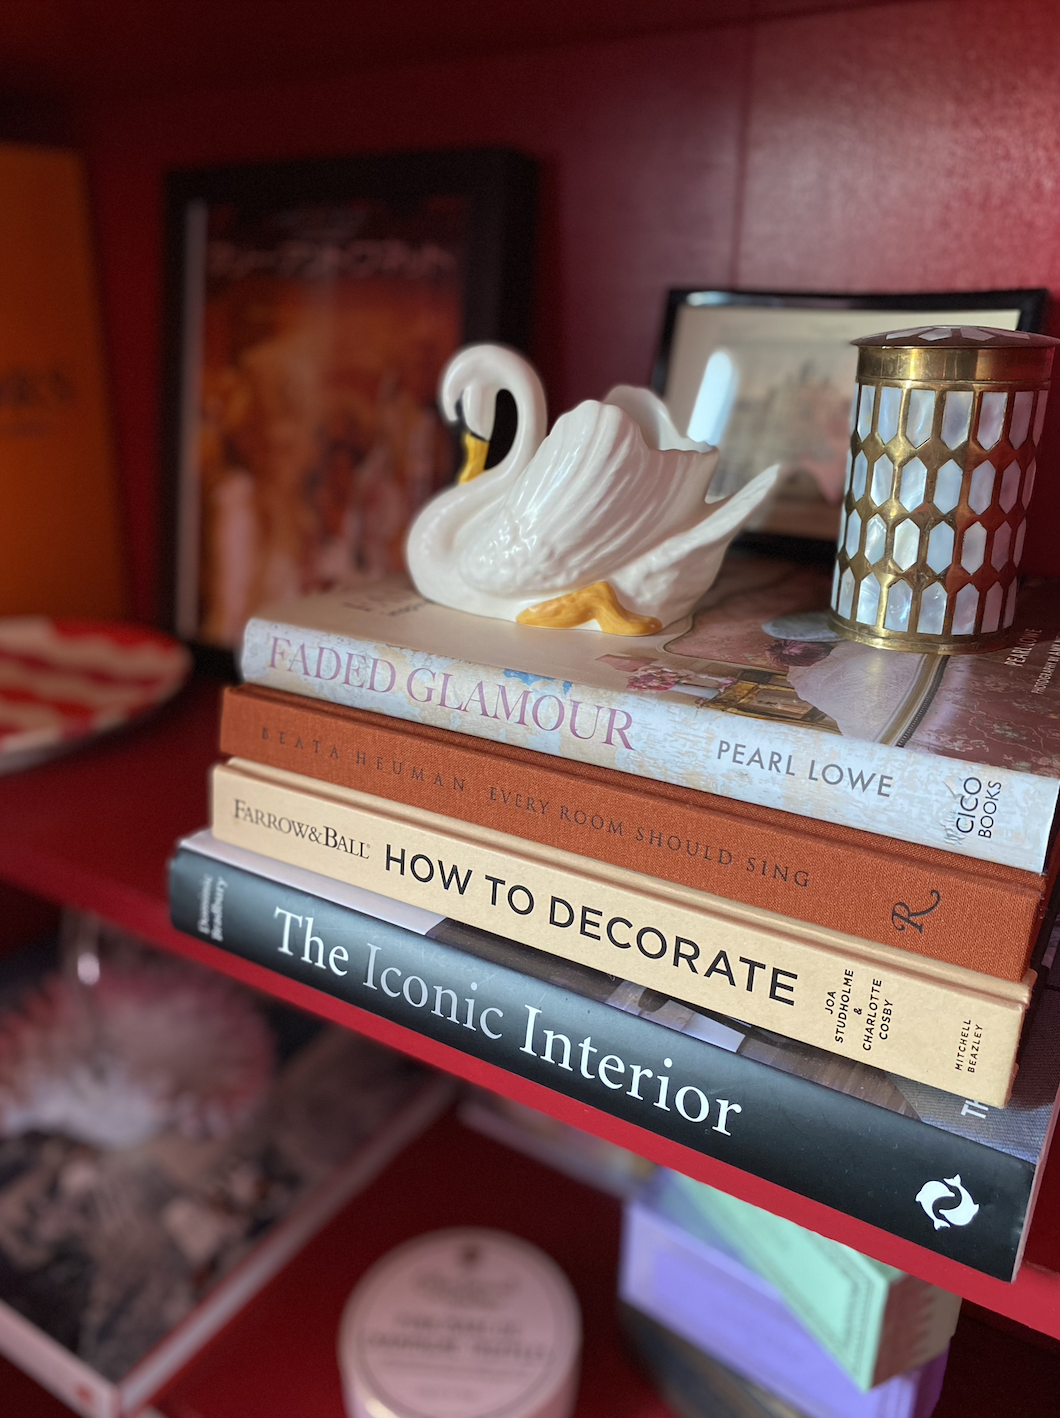
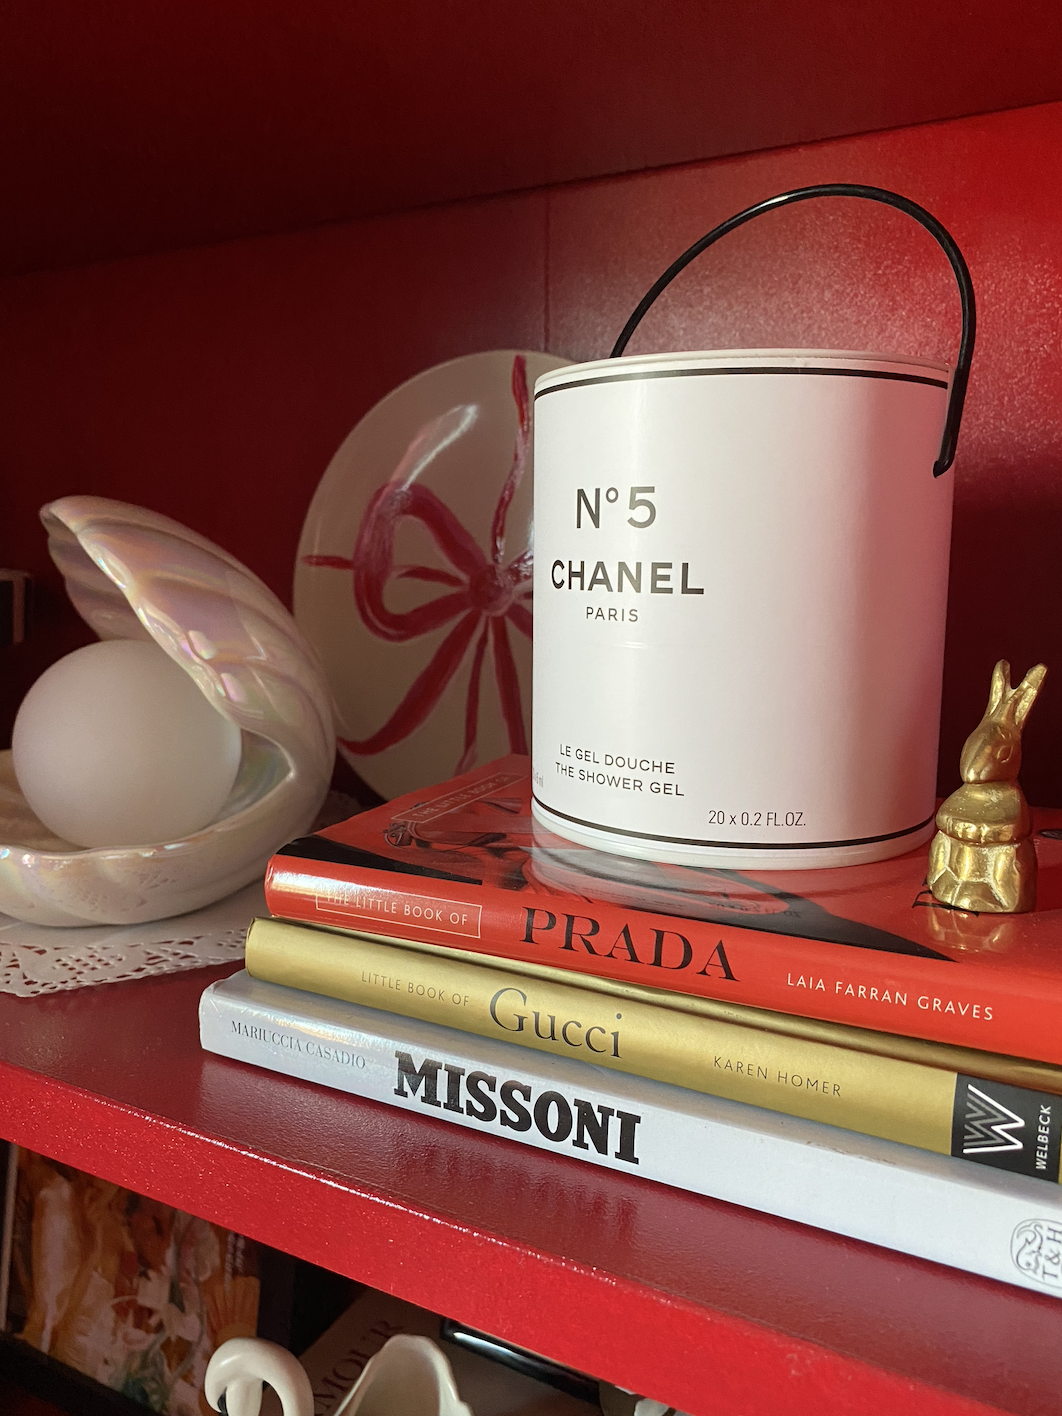
All of the shelves were added at heights that were measured using the books, vases and art that would be displayed on the shelves, and gloss touch ups were needed to address any knocks, and then the whole structure got another coat of gloss, just to even everything out (I love giving myself extra work!)
Then, I called in a wallpaper who deals in premium papers. As I was using a House of Hackney design, I wanted to do it justice and not make any mistakes (that would potentially cost me later!) as much as I love a bit of DIY, I know where my weaknesses are and I’m a true believer in trusting the experts.
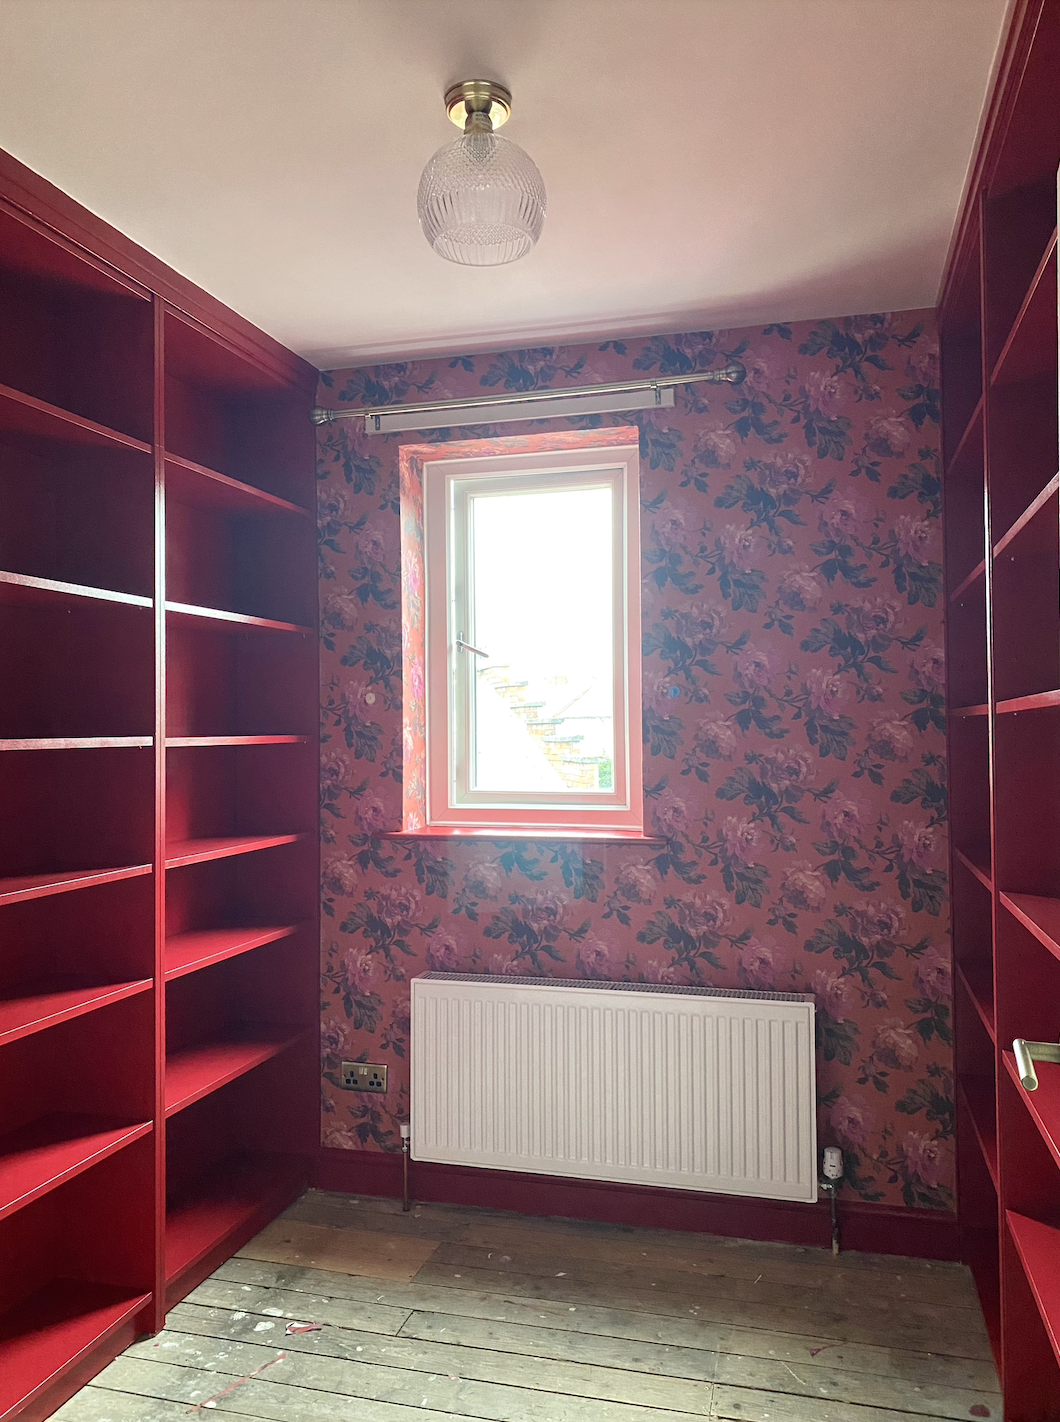
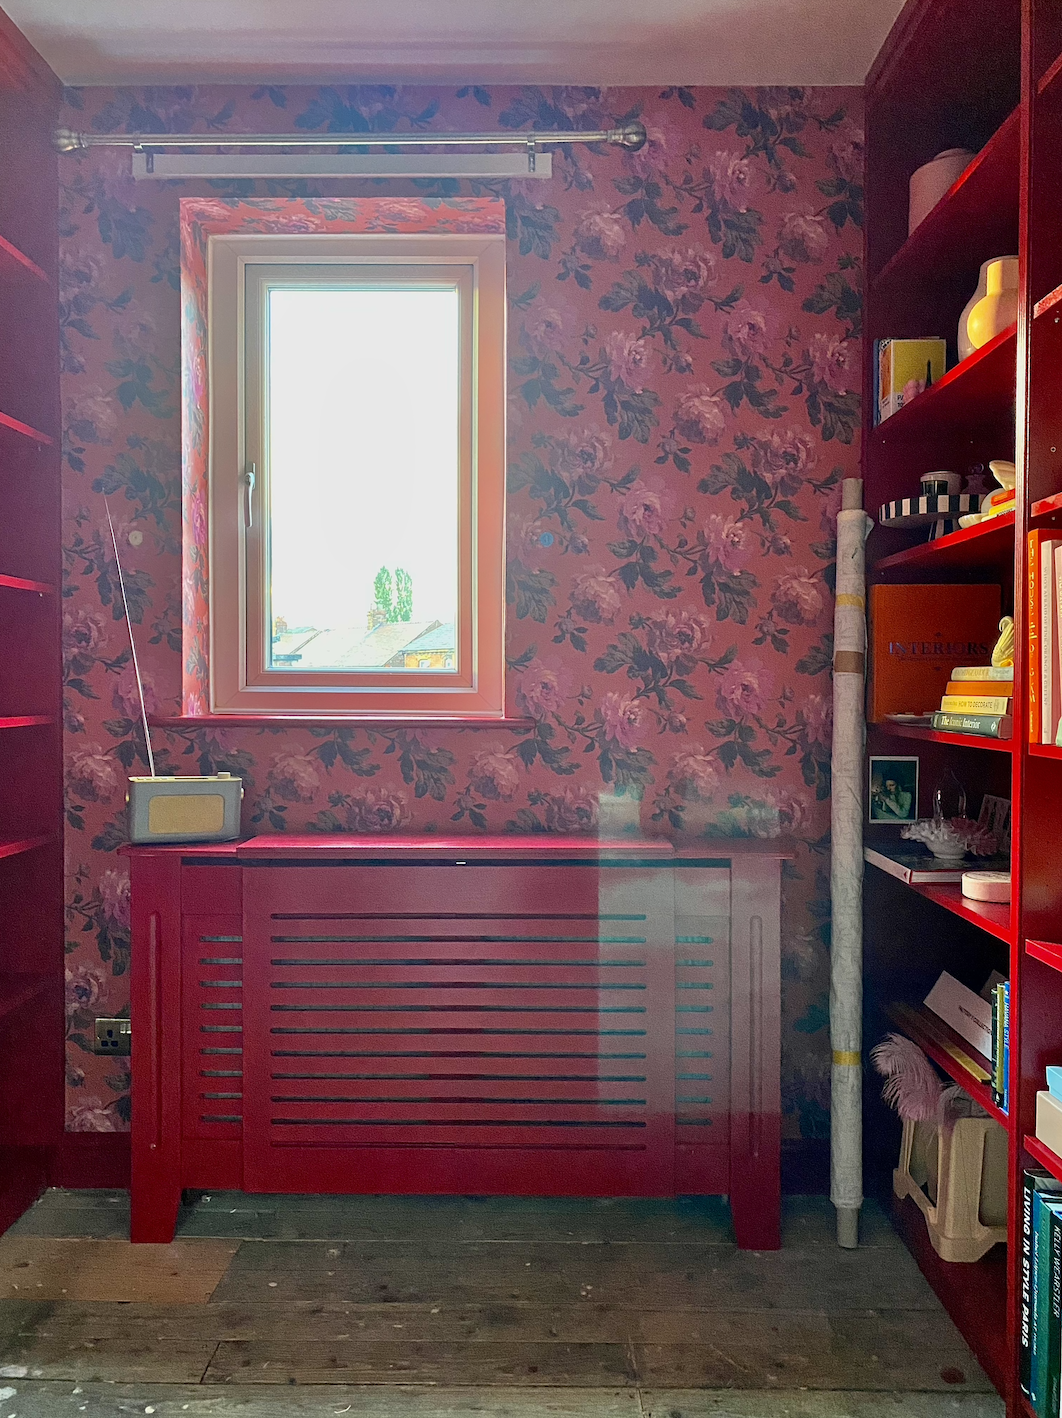
When the whole room was done, the bright white radiator stuck out like a sore thumb so this was the next thing to be considered. I don’t know why, but I really don’t like painted radiators, nor do I like physically painting them, it feels wrong somehow! So I opted for a (self assembly, again of course) radiator cover that needed, you guessed it, priming, glossing and then building! I love it, it hides the radiator beautifully, works with the feel of the room and provides a lovely ledge for extra bits and bobs.
We finally agreed on a desk, this one is the Jelly Bean desk from Habitat. Overall the instructions for self assembly were good, there was just so many parts and sections. All in all it took me 2.5 hours to build.
I’ve had the curtain fabric for some time which I picked up in a poodle and blonde sample sale. This one is the Money Tree fabric in ‘Tobacco Sky’. I made the curtain using cream coloured lining fabric and made a very basic rectangle panel which is exactly what I wanted.
The outcome
What was originally a small box bedroom, feels so much bigger, beautiful, functional, and so so extra! The floor space since the bookcases have been fitted is less than 2m squared which by any stretch, is a small room! The moral of this blog post story is: don’t let anyone tell you not to go full throttle in small spaces. If it functions well and makes you happy, go for it! Also, take your time with it. Taking over 5 months to get it to this stage, it’s been a real labour of love, but it’s absolutely worth it.
Just need to get the carpet fitted now!
What I learned:
Gloss is a bitch! Especially when you strive for perfection! But I really wanted it, and that’s a big reason why this took so long - 4 coats instead of your standard 2, plus 4 hours drying time!
Because of this I needed more paint than I originally thought. I used 5L of gloss in total which coated 6 x Billy bookcases with height extenders, skirting, wood trim, architrave and radiator cover (and a few touch ups!)
Save time washing endless brushes, sandwich bag them up instead! They lasted up to 4/5 days and saved a lot of constant red mess in the sink.
Some things are beyond me. I called in help where I needed it. You either spend TIME/ENERGY or MONEY, and sometimes when you are all out of the former, it has to be done! Master decorator Heritage Decorators was bought in to do the wallpapering, I did NOT want to mess up my House of Hackney wallpaper under any circumstances, and in the long run, finding an expert to do this definitely saved me money.
Same with the actual fitting of the bookcases. Victorian properties are not symmetrical, and I don’t have it in me to knock out precise holes into my walls to make them fit! My trusted handyman did this.
Main takeaway:
Don’t feel the pressure to finish something quickly. Reels are exactly that, they ‘gloss over’ (like my pun?) the blood/sweat/tears/time/effort/energy/the time needed to save money for the next section. SLOW PROGRESS IS OK!
